Showing posts with label spring planting. Show all posts

Tuesday, May 20, 2014

Winter Freeze Results

Well the results are conclusive: This past winter was so harsh that all of our peach blossom buds froze during a winter cold snap, and we had several this past winter. Not a one blossom this spring from the peaches. We have some temps as low as 20 below, which is very unusual for our area. I think a lot of the nation was affected by the cold winter. We will miss the peaches this year!

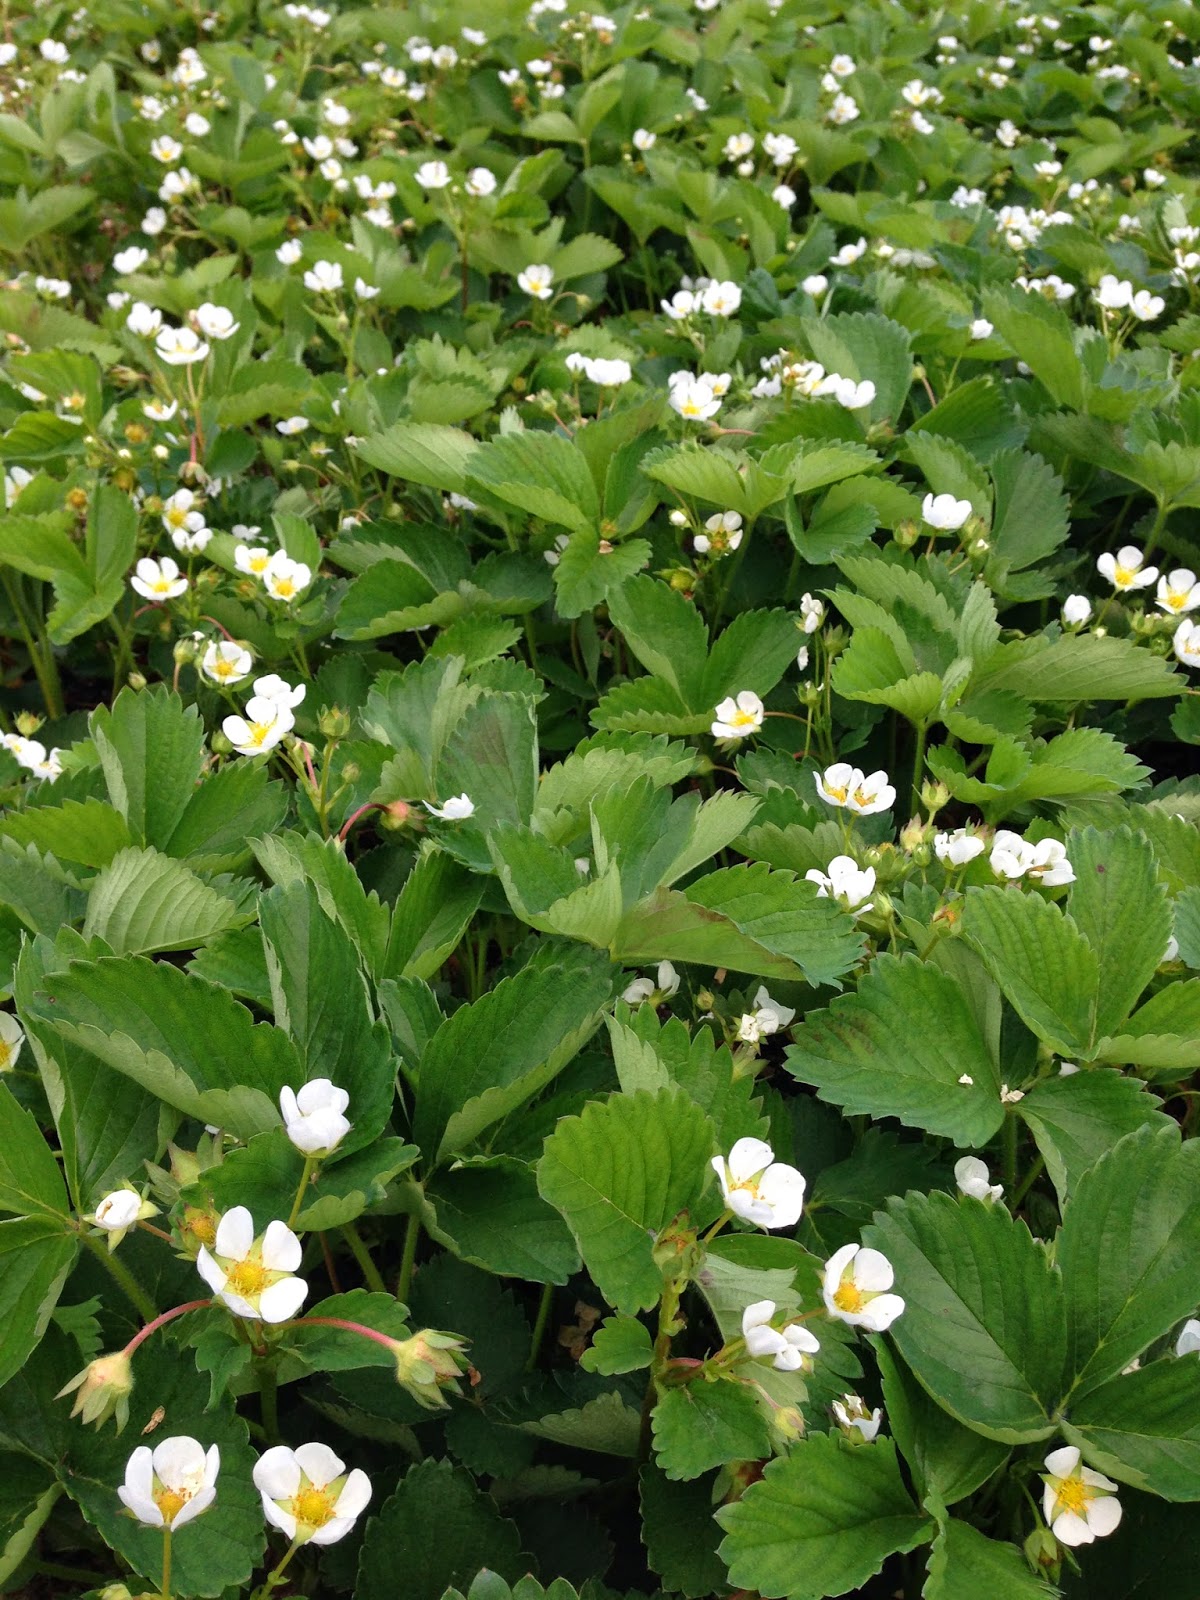
We are pleased with the strawberries. They are putting on a profusion of blooms, and the plants seem quite pleased with the warmer weather.

Our 10 day forecast shows no frosts (10 day low predicted at 44), so we may be past the spring frosts for this year. We set out pepper and tomato plants today (May 20).

Our raspberry patch is also a profusion of green. We mowed down every other row with the goal of rejuvenating the old canes and opening the patch up for better sunlight and access.

We planted 10 more grape plants, and have installed their trellis. These are the Jupiter variety, which we have enjoyed for fresh eating. They have a very unique taste. I am watching to keep up with bunch rot and apple scab this year with organic copper sulfate spray during hot, muggy and rainy times of the spring. Hopefully we will have a good grape harvest this year.


Wednesday, May 22, 2013

Spring Garden Record - 2013

It is time to start some plants growing indoors. If you live in the south, you may be able to sow cold crops now, but here in the north, we still have snow on the ground, and several inches of snow in the forecast. But the icy grip of winter is steadily loosening, and there is a hint of spring with day time temps above freezing, and some of the early spring flower heads poking through the snow.

March 1, 2013 - The glory of spring is coming.

To properly prepare, the gardener will be ready to plant some cold crops indoors, and be ready to transplant these outside in a month or so. For our area, the last frost date is mid May, and I watch the forecast, and sometimes sneak out a few days early. Sometimes we get a surprise frost, but a night cover will keep the plants alive if the frost is not hard.

Now is the time to decide what you will plant where in your garden this year. Make up a garden plot plan, and remember rotations if you are able to get two or three cycles of growth into your season.

March 8, 2013 - 5 flats of early starter plants. Some are 3" tall. I put a fan on them some this afternoon to strengthen their stems.

April 19, 2013 - Our indoor tomatoes and pepper plants are getting big even for the gallon containers they have been transplanted into! We are close to flowering stage on the tomatoes, and we are seeing some lower leaf wilt and death. This seems different than we have seen before, and is most pronounced in the carbon black tomatoes. Perhaps just a weakness of the heirloom variety, and the challenges of growing under lights and house temps. We had some snow fly today, but it did not stick. Lows predicted down to 31 degrees for the next two nights. Spring will come, but it is taking its time this year!

In our area we are now about 4 to 5 weeks till our last frost date, and this next week I plan to start tomatoes, peppers, egg plant and beans.

Note our Fava Beans have seemed slow to come up, but today they are poking their bean leaves above the soil!

Also a side note, we expect honey bee packages to arrive May 7, to enlarge our honey bee hives. Lots of rain the past few days, and our water catchment tank is almost full.

April 22, 2013 - We planted into the field 10 bundles of onion plants. This averages to 500 onion plants, in 3 rows. Since we bought the local stores out, we may plant another two rows later. I wish we could find a lower cost per bundle. These cost around $3.50 per bundle.

May 9, 2013 - Planted 50# in 5 rows of small Yukon Gold potatoes (1 foot apart, rows 90 feet long), and planted 50# in 2 rows of large Red potatoes. We did not cut the red potatoes this year. Actually our getting red's was a mistake. We found the YG to be a much better keeper than the Red potatoes. It started to rain as we were covering the potatoes, and it was nice to get all wet out in the rain.

Plants are growing well in the greenhouse. It does get quite hot in there when sunny. I will keep you posted how that goes. We may need to use some shade cloth.

Chitting some seeds this evening for planting tomorrow. Purchased 12 new pullets. (We have lost several laying chickens to a local fox, who has been visiting and collecting rather regularly. More on that soon, as we have to figure out how to make the run as secure as the coup.)

May 22, 2013 - Planted 8 hills of watermelon from among the fruit trees. This area of the garden is heavily mulched, so we pulled back the mulch and made a hill for the two plants each hill. Planted 90 ft of sweet potatoes under 3' wide black plastic. We obtained two varieties of sweet potatoes: 50 slips of Beauregard, and 50 of O'Henry, and planted them about 10" apart along the row. Packages of honey bees arrive tomorrow.

Thursday, May 9, 2013

Fertilizer

I see one of my draft articles has come of age - and published itself without my ever finishing it! (Sorry for those of you who came and saw it in its rather raw form!)

Now that most areas of the USA are warm enough for planting, we need to think some about getting the crops to grow. I do not suggest adding a lot of fertilizer at the time you plant so your new plants will not be burned by intense amount of fertilizer. What is perfect is to add manures long in advance of planting. Even better, you could allow the manures age in a compost pile where they will break down and then be ready for use in the garden.

Fertilizers generally focus on adding nitrogen to plants during the growing season, but could address the addition of any needed substance for growth. For now, let''s focus on the addition of nitrogen to your garden plot.

A garden generally needs around 60 lbs of available nitrogen per acre over a growing season. Nitrogen can come from a variety of sources, generally of plant origin, or bacteria fixing nitrogen in conjunction with plants (legumes for example). I have started Fava beans this year, and look forward to this plant adding nitrogen to the soil for subsequent crops to use. There are so many good things to say about Fava, and I still wonder why I have not grown them before!

There are three ways to add nitrogen to your garden:
  1. Cover crops, especially nitrogen fixing crops
  2. Adding compost and manures
  3. Chemical fertilizers (ammonia compounds)

The first option seems to be the best. There are a lot of nice things to be said about manuers, but you may introduce new weed seeds to your garden. The least favorite of the three I put last. If not done properly, chemical fertilizers can sterilize your soil. The organic gardener wants to feed the micro organisms, which will in turn feed your crops. So take care when adding chemicals to your garden.

Following are some misc notes that for some reason I thought were earth shaking when I started this article some time ago:

There are 16 tablespoons per cup. Many commercial power fertilizers suggest using one tablespoon per gallon of water for fertilizing plants. In a 5 gallon bucket, this would be 5 T per bucket. To get ½ Tablespoon per gallon, put 2.5 T into a 5 gallon bucket.

So, did you do a soil test, and therefore do you know what your garden needs this year? Cheers for a fertile garden!


Resources

Tuesday, January 15, 2013

Tool Repair

The days are short in the north winter. The temps dive to the bottom of the thermometer flask, and the night winter air seems to stab at you more than any other time of year. I have a pile of gardening and seed catalogs always close by with wonderful pictures of ripe harvest products. I decided that if I look at too many pretty pictures, I will want to move south, and get a jump on spring planting! If you have not obtained your spring seed, yes it is past time for that. Not that you will be planting really soon, but some seeds may already be sold out. Make your selections early, and assure yourself of the seeds you will need for the coming year. Better yet is to have saved your own seed from your previous crops. We are saving more and more of our seed, and look forward to being seed independent.

So what should we be doing in these cold winter nights? Tool repair.

Now is a good time to clean, sharpen and oil the tools. I suggest a wooden handle rub to keep the wood in good condition. I have a small hammer that had some considerable summer abuse, and whose wooden neck is broken in two. This is an ideal project to fill some evening time, and return the tool to service, as good as new again.

You may want to organize your tools as well, and come up with a way to keep them orderly and neatly arranged.

If you like me find yourself straying back to the seed catalogs; consider making a planting schedule and crop rotation map, so you have a plan on where and when for your spring and summer planting goals.

It is only mid January, and I am thinking about playing in the dirt. Spring will not come too soon, I am sure. Get ready, and stay active in the dark nights of winter!


Tuesday, December 18, 2012

The Victorian Kitchen Garden

I am fond of 1800's history, and was pleasantly surprised to learn about the program "The Victorian Kitchen Garden". This apparently was a BBC series of the mid 1980's.

Source: Wikipedia on Harry Dodson
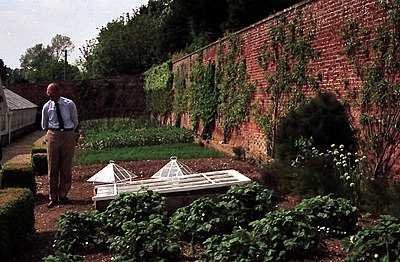
Back in the Victorian period (1800's) there were large walled gardens in each large estate in England. Food production was on a very local scale, and a team of people were employed as gardeners. All of this was new to me, but what I found especially interesting was to learn the tips and techniques from master gardeners of a hundred years ago. A time when there were no commercial fertilizers, few pesticides and a lot of attention to detail and the crop. There was no mono culture in these gardens!

The head gardener was one of the highest seniority staff members on the estate, and he was tasked with producing all of the food needed by the estate-- year round.

I have enjoyed the program, so I will organize links to the videos on you tube. I would caution you to beware of inappropriate content in the "suggested" videos area. It is sad to have good resources thrown in with the filth of a morals lacking society. Click the video link, and go full screen as soon as you can, and of course skip the ads if they are thrust upon you.

Note as of Jan 21, 2013, these video links are not working. The interview with Thoday is working which would give you an idea about the program.

April
May (first 10 mins)
July part 1, July part 2
September part 1, September part 2
November

Wednesday, February 22, 2012

Spring Planting

The days are ticking down toward spring planting. This is exciting! I would like to outline the steps our farm undergoes in late February to get ready for spring planting. We start planting seeds indoors on the week of March 8th. This is based on our zip codes last frost date. We generally have our last frost around May 3. We don't set out tender plants till May 10 (and then look at the 10 day forecast just to be sure). Remember that frosts can sneak up on you on clear sky nights without weather forecast warning. I have even seen light frost with 10 degrees safety margin in the forecast.

If you have not yet obtained your seeds, now is the time! Following are the seed companies we have used over the past several years:

It is also time to setup your start trays in which you will start your transplants. We use recycled 4x8 foot drop ceiling light fixtures (4 bulbs), placed on 4x4 inch blocks which lifts the light fixtures just above the trays. The light should be as close to the plant as possible to give the maximum light exposure. If your plants are tall and leggy, they do not have enough light.

We have used grow heating mats in the past. I found that if I cover the light fixture with a blanket, the heat of the light fixture warms the under contents adequately as measured with a soil probe thermometer. Be careful if you try this. Make sure you don't have too much heat creating a fire danger. I set up several test configurations on my seed starting setup, and measured the temperatures obtained. The variables: no light or added heat, light on, heating pad and blanket cover. All of these measures were taken on the same light unit, at a room temperature of 60-70 degrees. In my testing, I found:
  1. Soil at room temp, no light or heat added    60 deg
  2. Heating pad on only                                    80 deg
  3. Heating pad on covered with a blanket       86 deg
  4. Light on only                                               62 deg
  5. Light on covered with a blanket                  82 deg
  6. Light on + heating pad on                           84 deg
  7. Light on + heating pad on + blanket            96 deg

When we plant, we want to remember the goal is a progressive harvest, and this means not planting all of the cabbage for a single harvest, but progressive plantings. Elliot Coleman, in the book Four Seasons Harvest, suggests this schedule on page 88:
  • Beans - every 2 weeks
  • Beets - every 2 weeks
  • Carrots - every 2 weeks
  • Celery - twice: early spring, and 3 months before fall frost
  • Corn - every 2 - 3 weeks (some varieties vary in length so keep this in mind)
  • Cucumbers - two or three plantings: at month intervals
  • Lettuce and greens - every week or two, extending the entire season
  • Peas - twice: early spring and midsummer
  • Radishes - every week
  • Spinach - every week during spring and late summer
  • Summer squash - two or three plantings at month intervals

We have created charts for planting dates based on the projected last frost date in spring. I will describe how we have constructed our chart, and then you can modify the specific dates based on your last frost date. I will only list the first planting of a variety here, though remember the suggested schedule above related to progressive plantings.

In the chronology below, the word "start" means seeding a transplant tray to start seedlings in side under lights. "Transplant to soil" means taking some of these seedlings and transplanting these into their final location in the garden. "Plant in soil" means we seed directly to the garden. We do not notate seedling transplants to larger pots indoors, but in several cases, this is needed. We have eggplant inside a long time before we set it out, as an example. We largest pot we use inside is 1 gallon.

Eight weeks before last frost date (Mar 8), we start the cold crops: cabbage, cauliflower, kale and lettuce.
Seven weeks before last frost date (Mar 15), we start egg plant and broccoli. Eggplant is a slow growing, warm loving plant, but it needs a long growing time to get it to harvest, so we start some really early. Onions can be planted in soil.
Six weeks before last frost date (Mar 22), we plant in soil: arugula, spinach and peas. 
Five weeks before last frost date (Mar 29), we start endive and turnip. We transplant to soil: cabbage, cauliflower. Plant in soil: radishes. 
Four weeks before last frost date (Apr 5), we start peppers and tomatoes. We plant in soil: beets and potatoes.
Three weeks before last frost date (Apr 12), we transplant to the soil: broccoli and lettuce.
Two weeks before last frost date (Apr 19), we start beans. We plant in soil carrots and chard.
One week before last frost date (Apr 26), we start cucumbers, summer squash and melons.
Week of last frost date (May 3), we start okra, another warm loving plant that we will transplant to soil in 4 weeks.
One week post frost date (May 10), we start pumpkins. We transplant to soil the beans. We plant corn and a successive planting of beans into soil.
Two weeks post frost date (May 17), we transplant to soil cucumbers, summer squash and melons.
Three weeks post frost date (May 24), we transplant to soil peppers and tomatoes.
Four weeks post frost date (May 31), we transplant to soil the okra and pumpkins.

While the seedlings or transplants are being established in soil, more diligent effort with weeding will be required. As soon as the plants are large enough to withstand some side dressing of mulch, apply this and add to it as you are able. This will do wonders for controlling your weeks, and lessening your hoeing work.


Soil

I wanted to have you think about the soil you use for your starter trays. We have used commercial starting mixes with good results in the past. Some references talk about using pasteurized soil, where harmful bacteria have been killed, but not so hot that the organic material is turned to charcoal. Be aware that if you use untreated garden soil, you may have more problems with damping off when used in a greenhouse or starter house application. I don't have a lot of experience pro or con, but pass on the word of caution from others.


Hardening off

When plants are started inside or in a greenhouse, the plants are tender. If placed directly outside, they may be burned and die. In our experience there are two key issues: light intensity and stem strength. New plants that have been inside have been shielded from the full intensity of the sun, and if the plant is directly transplanted outside with no hardening, the plant may be set back by leaf burn. Stem strength is also an issue, as indoors the plants are not subjected to wind stress, and stem strength develops based on need. I have sometimes set an oscillating fan to blow across the plant trays. I set plants out in the middle of the spring day that is sunny and warm for a limited amount of time. This time I increase an hour a day leading up to the date we transplant to soil.


Transplanting

When you are ready to transplant to soil, you will want to mark out the transplant bed in advance. We use a transplant trowel which is perfectly shaped to open the soil to receive the new plant. Take care to adjust the roots and rootlets to prevent root ball. Gently firm the soil around the plant, as this will improve capillary action to bring water to the roots. Generally you will want to plant the seedling at the same soil depth as they were grown prior. An exception is tomatoes, which will root out of a buried stem. There may be benefit to transplanting to the base of the first leaves.


Resources